Setting up Ubuntu 16.04 on Linode - studio4130
After years of hosting a variety of websites and applications on an old reseller account, I decided to move everything to newer infrastructure. I decided to move most of what I was hosting to some cloud platform. AWS, Digital Ocean, and Linode were all options I considered. Being something of a simpleton, I’ve always found AWS to be a confusing place to start. Digital Ocean and Linode have a lot less to choose from, and I suppose that helps make it easier to get started. Digital Ocean had the best user interface, and great tutorials. Linode had a pretty bad UI, but was still less confusing than AWS. It came down to either Digital Ocean or Linode. In the end, I decided to try both Digital Ocean and Linode. I tried out Digital Ocean first, and then proceeded to try Linode a short time later.
In this post, I’ll go through the steps I used to set up Ubuntu 16.04 LTS on Linode. The ultimate goal is to migrate WordPress sites to the new Linode. With that in mind, I plan to follow up with a tutorial on setting up Apache, MySql and PHP on Ubuntu, on Linode next, followed by setting up WordPress on Linode. This tutorial is partly to help others, and partly for my own reference. There are a lot of steps, and setting up and configuring servers is not what I spend most of my time doing.
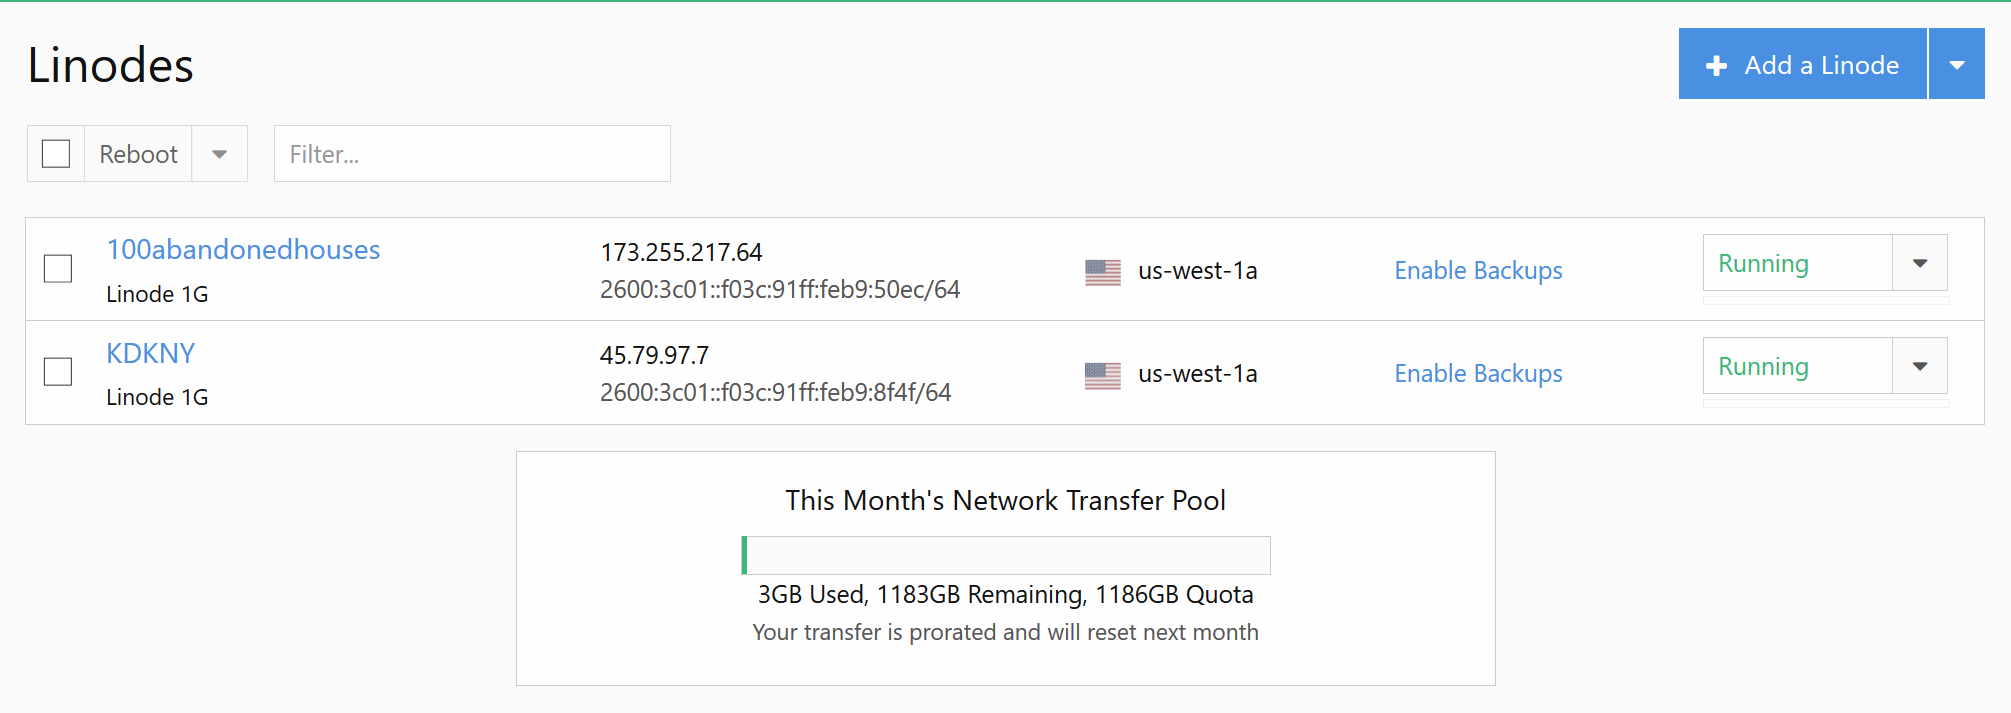
On Linode, there are two dashboards. The older is at manager.linode.com, and the newer is at cloud.linode.com. For this tutorial, I used the newer dashboard.
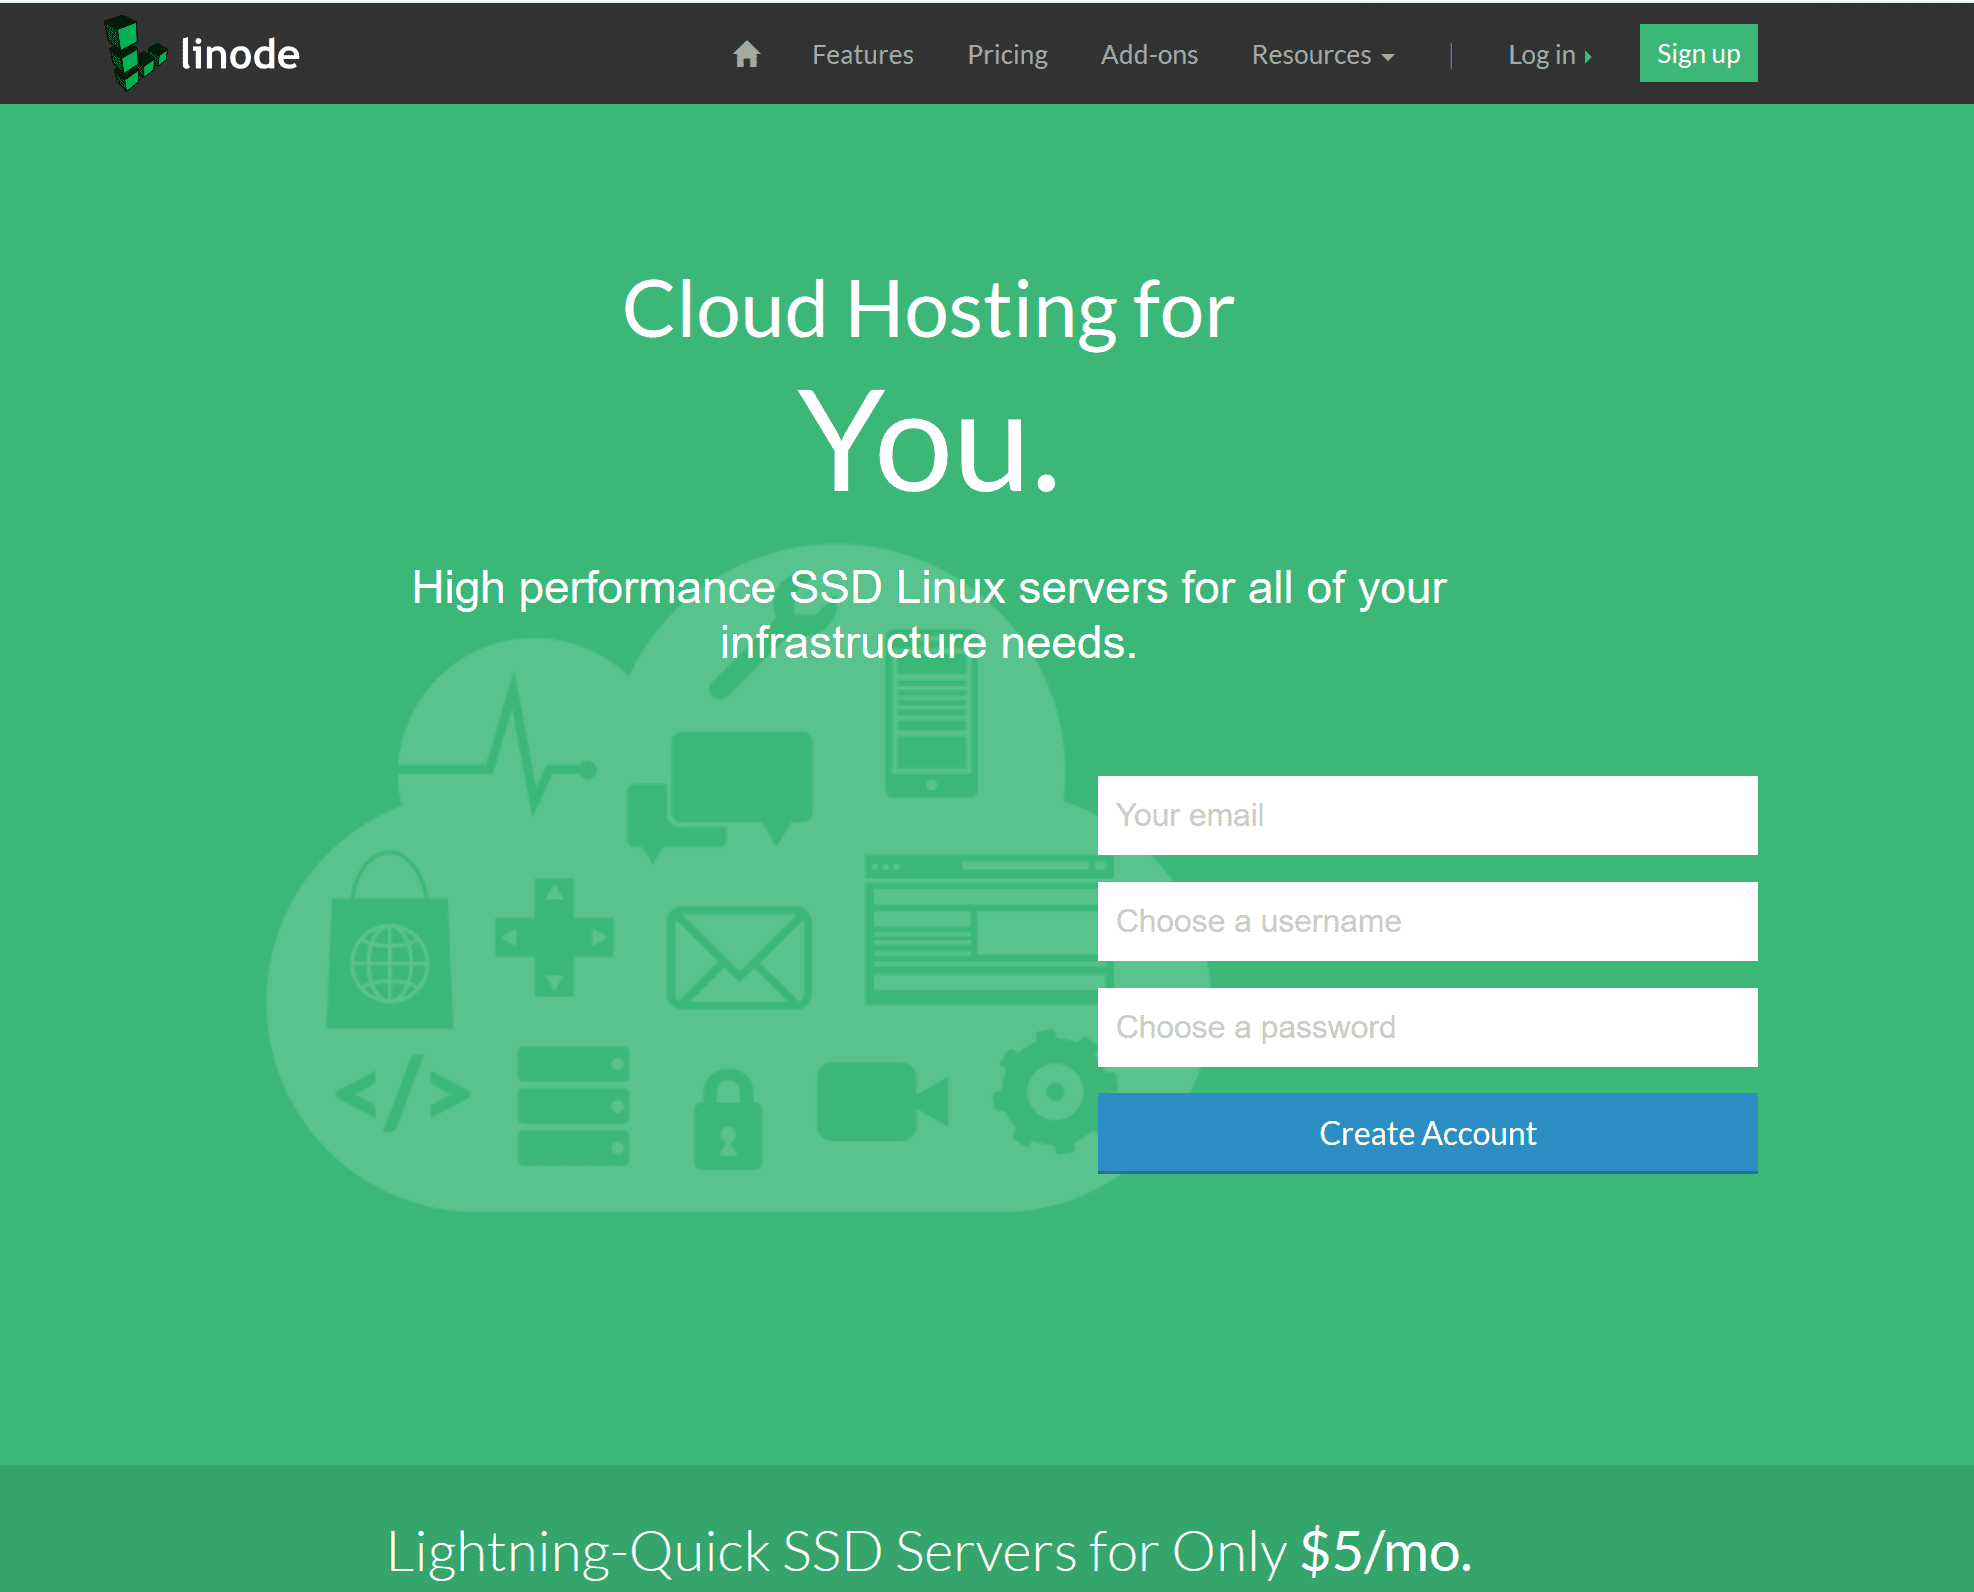
Create an account at Linode
First, set up an account at Linode. You will have to add a credit card to the account and purchase a credit, though you can use a promo code for a $10 savings: Use promo code DOCS10 for $10 credit on a new account.
Create a new Linode
Once the account is created you’ll want to go to ‘Linodes’ and click on the button that says ‘Add a Linode’.
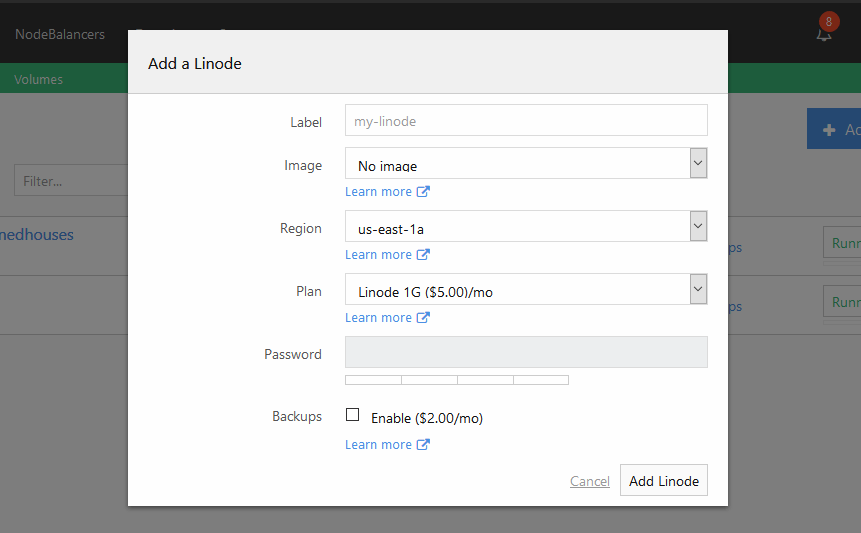
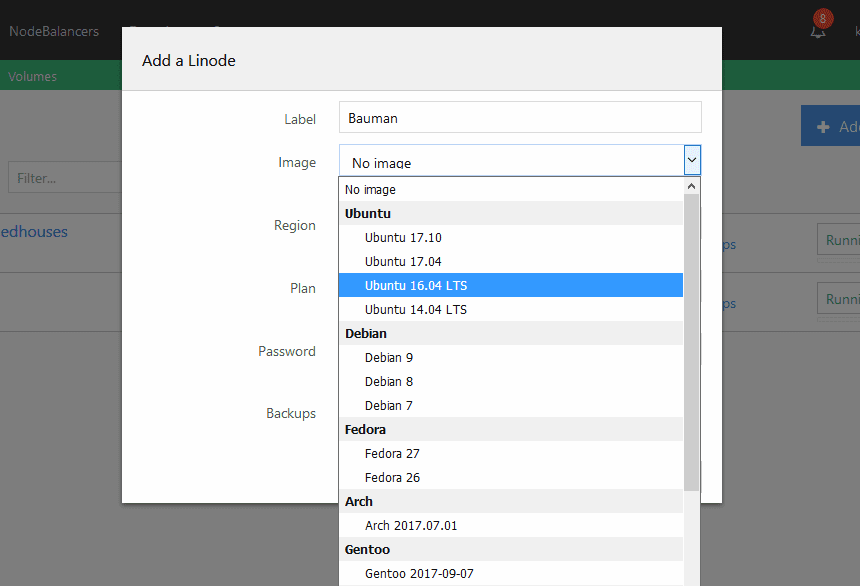
In the ‘Add a Linode’ modal, add a label (it doesn’t matter what. It’s just an identifier), choose an image. I chose Ubuntu 16.04 LTS. Choose a region, preferably something new your site’s users, or yourself. Select a plan, and set the password. Add backups if you’d like, and click ‘Add Linode’.
log in to the Linode via SSH
Next, log in to the new Linode via SSH. You’ll need the IP address for the Linode. You can find that on the Linode dashboard.
On Linux, use the terminal window. On Mac use Terminal application, and on Windows there are a few different options, such as Putty, the Command Line or PowerShell, or a Bash environment, using the Windows Subsystem for Linux.
Connect to the Linode, using your preferred method:
ssh [email protected]Type ‘yes’ if this is the first time connecting:
The authenticity of host '123.456.78.90 (123.456.78.90)' can′t be established.
RSA key fingerprint is 11:eb:57:f3:a5:c3:e0:77:47:c4:15:3a:3c:df:6c:d2.
Are you sure you want to continue connecting (yes/no)? yes
Then, when prompted, enter the password created above:
[email protected]′s password: Update Ubuntu
Once connected, make sure the Ubuntu distribution is up to date. Run the following to check for updates:
sudo apt updateTo see a list of upgrades run:
sudo apt list --upgradableTo apply the updates:
sudo apt upgradeWhen downloading and updating you may be asked whether to continue. Type Y to continue:
Do you want to continue? [Y/n] YAfter all updates have been applied run the following to remove dependencies that are no longer needed:
sudo apt autoremoveRun the following to remove archives from the cache for packages that can no longer be downloaded:
sudo apt autocleanConfigure and secure the Linode
Set a hostname for the Linode:
hostnamectl set-hostname example_hostnameIt can be anything, but it should be unique. It has no relation to what’s hosted on the server.
Add the hostname to hosts, using the Nano text editor:
sudo nano /etc/hostsThe file will look something like this:
127.0.0.1       localhost
127.0.1.1       ubuntu.members.linode.com       ubuntu

# The following lines are desirable for IPv6 capable hosts
::1     localhost ip6-localhost ip6-loopback
ff02::1 ip6-allnodes
ff02::2 ip6-allrouters
I like to add the hostname on the second line, right after
127.0.0.1 localhostWhat the file looks like after adding the host:
127.0.0.1       localhost
127.0.0.1       example_hostname
127.0.1.1       ubuntu.members.linode.com       ubuntu

# The following lines are desirable for IPv6 capable hosts
::1     localhost ip6-localhost ip6-loopback
ff02::1 ip6-allnodes
ff02::2 ip6-allrouters
After adding the hostname, type ctrl + x, followed by Y, and enter. That will save the file, and exit the Nano editor.
Next, set the timezone. Use the timezone you are in, or that most of your visitors are in.
To set the timezone:
dpkg-reconfigure tzdataThis will open a dialog that allows you to select the timezone you want to use.
Check the time:
dateYou’ll see something like this:
Tue Dec 26 15:20:09 MST 2017Create a new user.
add user:
adduser example_userFill in any of the following values as desired. None are required.
Full Name []:
Room Number []:
Work Phone []:
Home Phone []:
Other []:
Add the new user to sudo group, to allow root access:
usermod -aG sudo example_userSwitch to the new user:
su - example_userNext we’ll be adding SSH keys for the new user. If you haven’t done so already, create SSH keys on your local computer. Learn more about creating SSH keys at Bitbucket. SSH keys are necessary, as we’ll be disabling password authentication for SSH. We’ll then copy the new public key to the Linode.
You can have more than one key for a user. For instance, if you have multiple computers that you’ll access the Linode from, you can add keys from each computer, one line at a time.
First, create the ssh directory for your new user:
mkdir ~/.sshNext change the permissions for the ssh directory:
chmod 700 ~/.sshCreate the authorized keys file, which will contain the SSH keys:
nano ~/.ssh/authorized_keysAnd, change the permissions of the authorized keys file:
chmod 600 ~/.ssh/authorized_keysAdd SSH keys to the authorized keys file:
nano ~/.ssh/authorized_keysPaste the SSH keys you for the user. Each key goes on a new line.
Afterwards, again save and exit the file by typing ctrl + x, followed by Y, and enter.
switch back to the root user:
exitNow, we’ll turn off password access by modifying the ssh config file
sudo nano /etc/ssh/sshd_configScroll down until you see PasswordAuthentication yes
Turn off password auth, by changing yes to no:
PasswordAuthentication noAgain save and exit the file by typing ctrl + x, followed by Y, and enter.
Reload the SSH service:
sudo systemctl reload sshdTest login with new user. While still logged in, in your current window, open a new terminal, and test logging in with your new user:
ssh [email protected]Next we’ll setup the firewall.
Turn on firewall and allow OpenSSh:
sudo ufw app listYou’ll see something like this:
Available applications:
  OpenSSH
Enable SSH connections through the firewall:
sudo ufw allow OpenSSHEnable the firewall:
sudo ufw enableType Y when prompted.
Check status of the firewall:
sudo ufw statusThe output should look like this:
Status: active

To                         Action      From
--                         ------      ----
OpenSSH                    ALLOW       Anywhere
OpenSSH (v6)               ALLOW       Anywhere (v6)
Next, we’ll go through the steps to setup Apache 2, MySql, and PHP on Ubuntu 16.04 LTS, on your new Linode. I also plan to do a tutorial setting up Ubuntu on Digital Ocean.
Most of the links to Linode and Digital Ocean, are affiliate links. If you use them, you get a discount, and I get a credit.
Linode Affiliate Link
Digital Ocean
Leave a comment